
This Sunday, I was watching Giada at Home while J got ready to head to school for his weekend class that he was taking. He watched about five minutes of the episode but I was able to watch the whole thing. The episode was hilarious. Giada's aunt Raffy came to visit and make her family's recipe for pasta rollatini. The only problem was that Giada had changed the recipe and Raffy, being a strong Italian woman, would have none of it. I have never seen Giada come so unglued before; it was hilarious!
However, once they made the "new" rollatini, Raffy came around and both ended up very pleased with the dish. It looked so delicious I had to try it myself. Giada warned that it took a bit of effort to make the dish, which it did, so I am glad I attempted it on a day when I could take my time in the kitchen as opposed to trying to make it after work during the week. The payoff is really great and if you have the time (1-2 hours total) I definitely recommend it!
The homemade pasta is made in a food processor, which makes pulling that part of the meal together in a snap. I am making all of my homemade pasta in my processor from now on!
Ingredients:
For the dough:
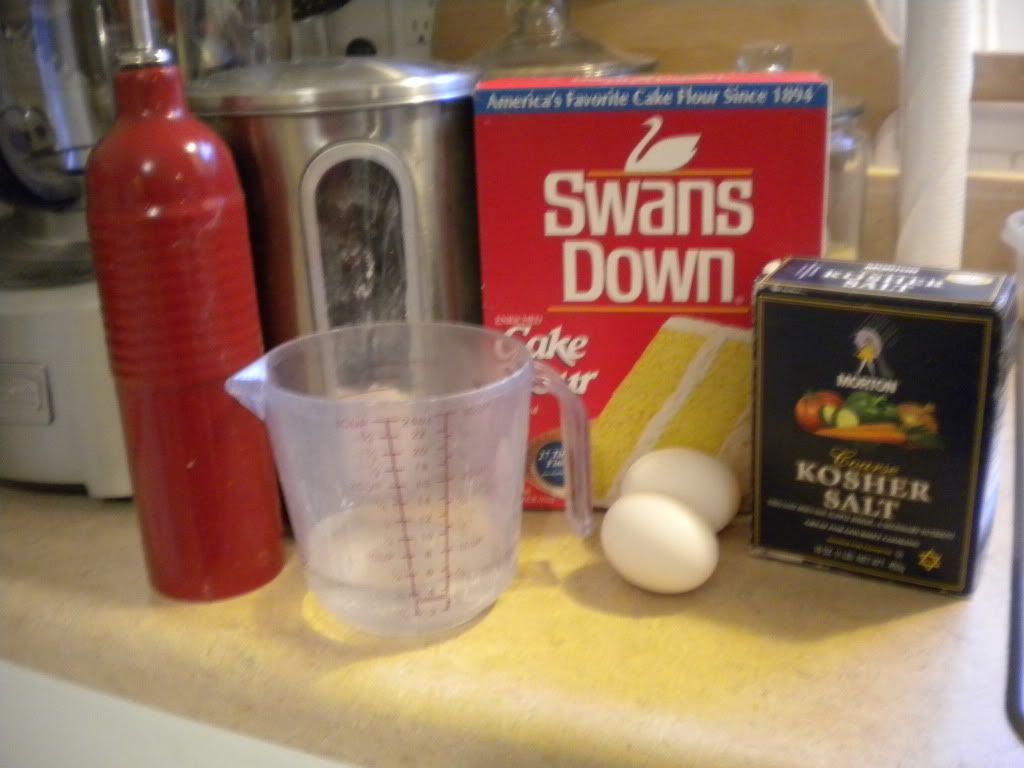
1 cup cake flour
1/2 cup all purpose flour, plus extra for dusting
1 egg yolk--you will use two egg yolks throughout this recipe. I saved mine in a tupperware, labeled it with the date and will be using it to make an egg whites omelet later this week!
2 tablespoons extra virgin olive oil
1/2 teaspoon kosher salt
1/4 cup of cold water
For the filling:
(1) 10 ounce package of frozen spinach, thawed and drained thoroughly--I usually thaw my spinach in the microwave then either squeeze it dry in a clean kitchen towel or else push the liquid through a fine mesh sieve with a spoon
3 ounces (3 slices) sliced prosciutto, diced
1/2 cup whole milk ricotta cheese
1/3 cup grated Parmesan
1 egg yolk
2 tablespoons olive oil
1 tablespoon unsalted butter, chopped, room temperature
1/4 teaspoon kosher salt
1/4 teaspoon black pepper
1/2 teaspoon ground nutmeg--I added this because I love the flavor combination of spinach and nutmeg!
For the rest:
1 egg
1 tablespoon of water
Butter, for greasing glass dish
3 tablespoons softened butter, cut into small pieces
3 tablespoons Parmesan cheese
2 cups warm marinara sauce--this recipe is so labor intensive, you will want to use pre-made sauce (store bought or canned if you canned some over the summer)
Kitchen Supplies:
Food processor--you could mix the ingredients for the dough by hand (similar to this) but if you have a food processor, I recommend you use that instead. Much easier and less time intensive!
Plastic wrap
Kitchen towel or fine mesh sieve for draining spinach
Pastry brush
Rolling pin
1 piece of cheese cloth, cut in half
4 pieces of twine
Large pot for boiling pasta logs
Mixing bowl for filling
Rectangular glass dish for baking rollatini
Sharp knife
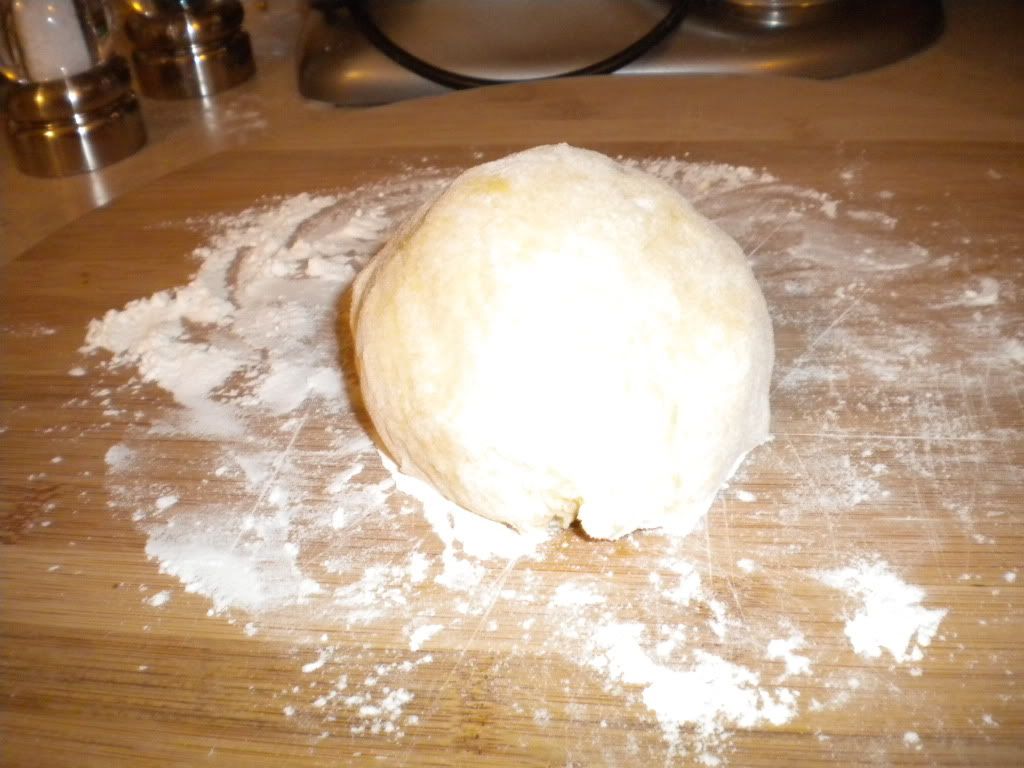
In a food processor, quickly pulse together flours, egg yolk, salt and olive oil. With the food processor running, slowly stream in the water until the mixture comes together in a large ball. Remove blade and turn ball of dough onto a floured surface. Work with it lightly as you would if you were kneading a pizza dough for a minute or so. Cover with plastic wrap and let chill in the fridge for 30 minutes.
While the dough chills, mix the drained spinach, chopped prosciutto, egg yolk, ricotta, Parmesan cheese, butter, salt, pepper, and if desired, nutmeg together using a fork.
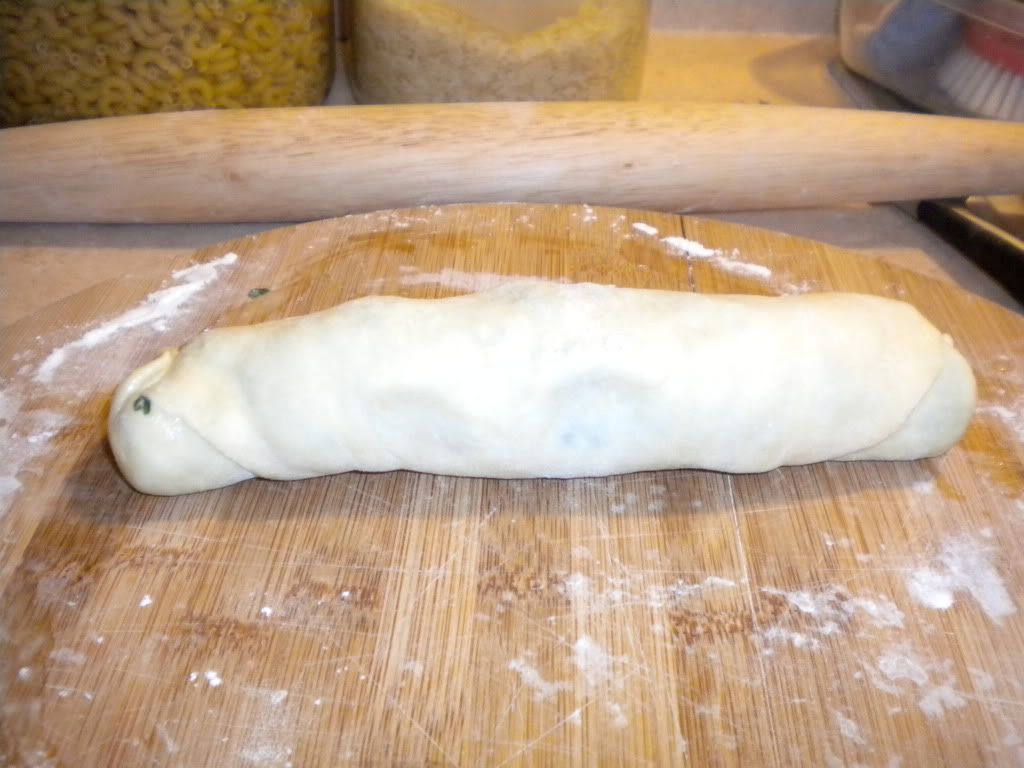
After thirty minutes, remove ball of dough from the fridge and return to floured surface. Cut dough in half and set aside one half. Press other half into a small disc then roll out into a circle to approximately 8 inches in diameter. Spread one half of the spinach mixture over the pasta, leaving a 1/4 to 1/2 inch clearance around all edges.
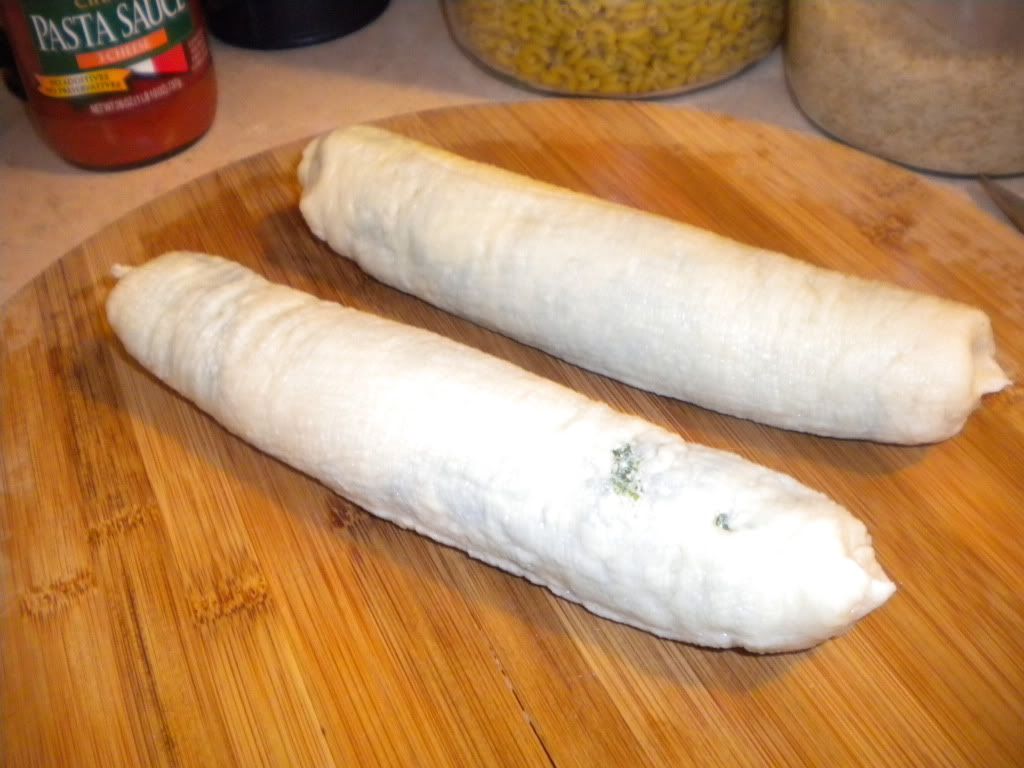
Brush edges with egg wash mixture and carefully roll the pasta as you would a jelly roll. Pinch the ends together to seal the log.
Place roll on a piece of cheese cloth. Roll up the log, leaving the ends loose (the cheese cloth log will have a tootsie roll like appearance at the end) Tie ends with a piece of kitchen string. Repeat with other half of dough.
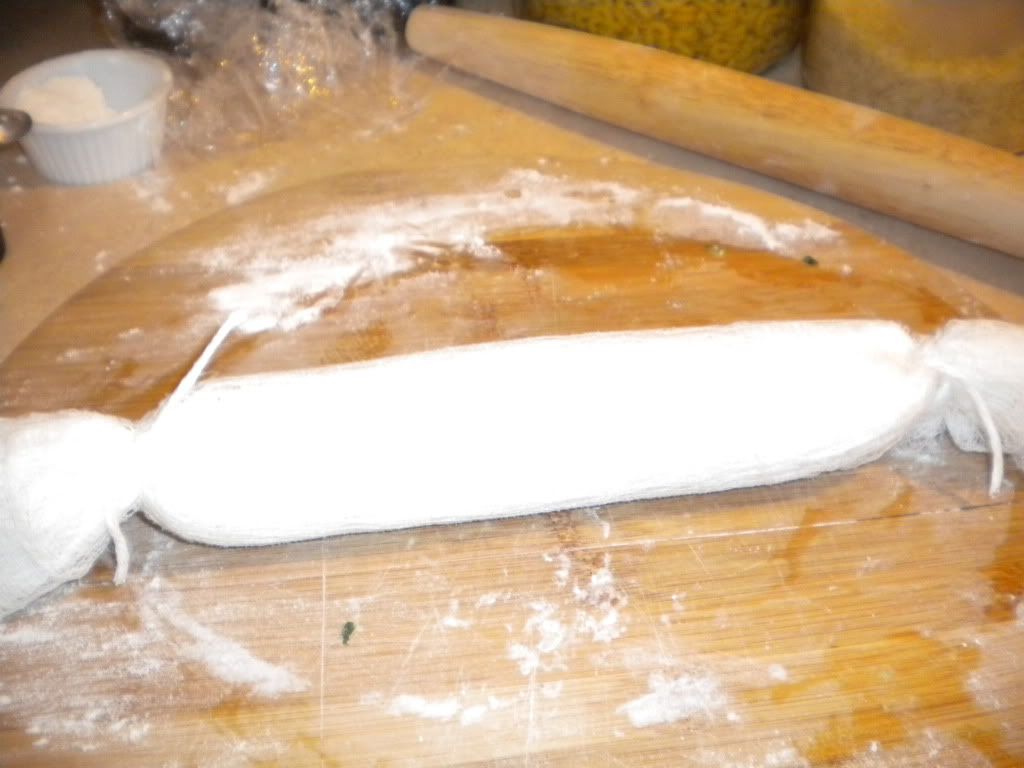
The cheese cloth will help the fragile pasta stay together until it cooks and generally keeps all of the ingredients together. If you have a clean white kitchen towel you don't mind parting with, you can use this too--this is what Raffy grew up doing. In fact, during the episode she criticized Giada for using cheese cloth because it leaves tiny waffle patterns on the dough (I found that they become indistinguishable when you cut the pasta roll into its slices).
In a large stockpot, bring water to a boil and using the two "tootsie roll" ends to hold onto the roll, carefully lower them into the boiling water. If you are debating between using a wider, more shallower pot and a taller, narrower pot, I recommend using a shallower one so that the pasta doesn't get too bent--a complaint Raffy made during Giada's episode. Boil for fifteen minutes then remove with 2 sets of tongs, again removing the pasta by the two ends as opposed to the middle, which could cause the pasta roll to crack and break.
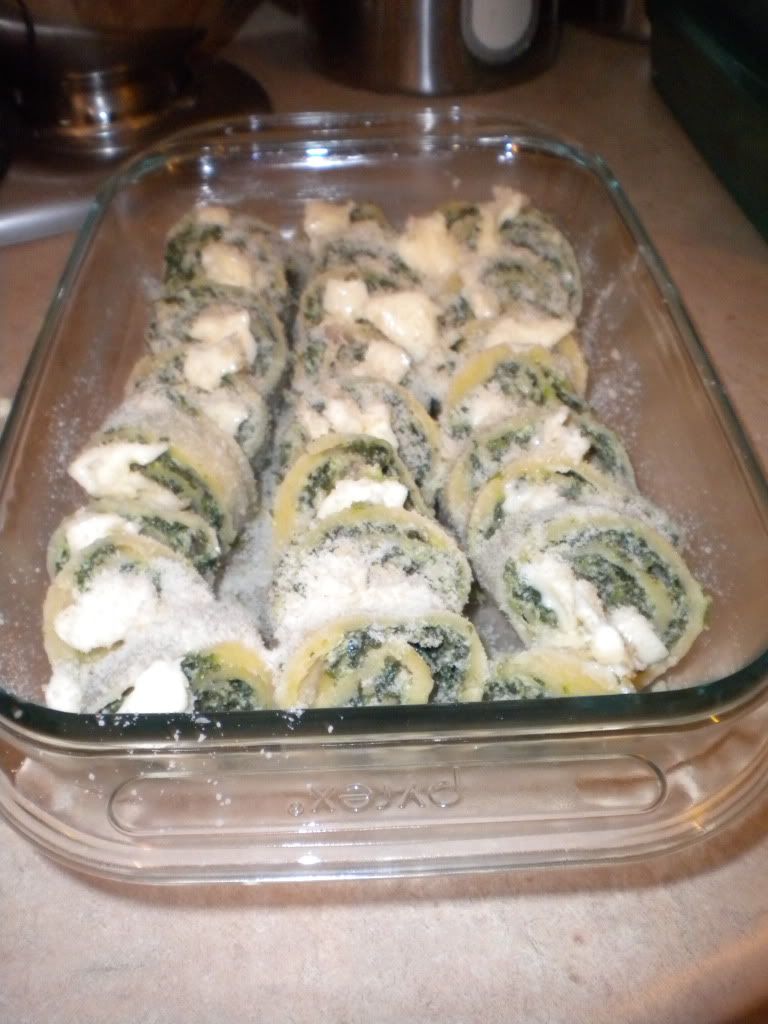
Let cool on a counter for ten minutes. Once cool enough to handle, cut off the ties and slowly unwrap the pasta rolls. Using a sharp knife, cut the rolls into slices and then place in a greased glass baking dish. You will get twelve slices out each roll and will end up with three overlapping rows of pasta. My secret to getting even cuts is to cut each piece in half, then half again so that the area you are working with is a lot smaller. I've found it's easier to get three equal cuts out of one piece than trying to eyeball twelve equal cuts out of a larger roll!
Scatter pieces of butter across the tops of the rolls as well as the additional Parmesan cheese. Place under a broil for a few minutes to melt the cheese and brown the butter. This part takes a bit of attention so you don't burn it and ruin all of your hard work!
Serve with a small dish of marinara for dipping and
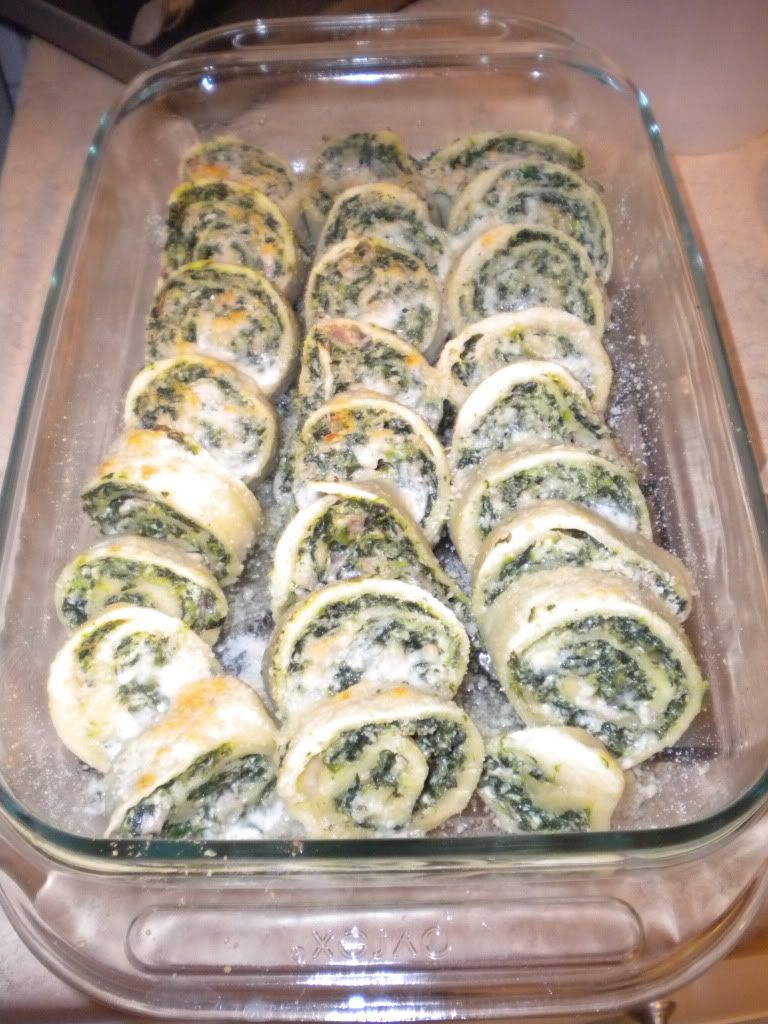
I probably could have let our dish go a little longer under the broiler to get further browning but I was worried about burning it and starving at that point!
Note: this could easily be turned into a fancy appetizer by dividing the dough (and filing) into fourths to create more bite sized rolls with could be served with toothpicks and sauce for dipping.
This is what Woods did while I slaved away in the kitchen.

Since he didn't help, he didn't get any of the food!
Has anyone else made rollatini before? Now that I know how simple it is to make the dough, I'd like to make this again with different fillings. Any suggestions?

Linking this up to Tasty Tuesdays.
Wow this sounds really delicious - and you made it look easy! I've never made pasta before, but might give it a try!
ReplyDeleteHoly moly, those look amazing!
ReplyDeleteThis looks delicious! However, it does look labor-intensive, perfect for a lazy Sunday afternoon!
ReplyDeleteMy husband and I watch Cooking Channel together too. :)
These look so good! I wish I had the patience for doing something like this! Woods looks depressed that he didn't get to sample any of it!
ReplyDeleteWhoa, yum! That looks so super fancy and good!!
ReplyDeleteMeggy from Chasing Davies