Before taking on this project, the walls of our bedroom were mostly bare and devoid of personality. We did not have any pictures of ourselves, Woods or our family and friends. For a room we spend a great deal of time in (it has the best TV in the house!), that needed to change, pronto. Here's how I did it.
I knew I wanted to incorporate a photo wall somewhere in the room, and with the air duct running through the wall above our bed, I settled on the only other available wall--thanks to the large window and closet doors that occupy the other two walls.
I also knew I wanted an asymmetrical frame design, similar to the one seen here. I then decided on a frame color: black. While we have quite a bit of white in the room with the telephone table, nightstand and tallboy dresser, much of our other furniture in the apartment, including bookcases, coffee table and entertainment center, are black. Since we are renting, I wanted to use black frames in the event the frames ever have a different home--in say a living or dining room.
Armed with several coupons, I headed to Michael's and I bought ten frames in a variety of shapes and sizes, some with mats and others without. I also included one shadow box to display some of our wedding mementos. While I was there, I picked up some scrapbook paper for a little art project to fill some of the frames in colors that complimented the bedding: orange, white and blue.
Inspired by this blog post and armed with an exacto knife and images of Woods that I printed from the computer, I created two silhouettes of Woods and framed them.


Next, I spent some time scouring J's Vanity Fair and The New Yorker subscriptions for a magazine monogram like the one seen on YHL. I finally found an article that started with the word R: a Vanity Fair article about Norman Rockwell. Even better, the font for the R was a reddish hue, which matched the colors in the bedroom perfectly. I cut out the section and went to my local Kinkos, where they helped me blow up the little piece of a magazine article to something that would fit in an 8" by 10" frame.

While reading up on an art related post on YHL which I cannot find for the life of me now, another reader posted a link with a unique idea for wall art: www.wordle.net I decided to create a word cloud using the words from our wedding vows. With a bit of tweaking, I was left with this:

I love that our names appear in the center of the cloud and are connected by the word join. I often catch myself reading over the words and singling out different words of the vows each time I look at it. Sometimes it's love, sometimes it's life, sometimes it's sickness. Whatever my mood, whatever is going on, I can look at the vows and remember the promises we made to each other.
I also printed and framed this photo of us from our wedding. It was taken during our first dance as husband and wife. It is one of my favorite photos from that day because if you look closely, you can see my parents in the background watching us!

I added a few more photos, including maps of our respective home towns and a photo of Creighton University, where we met and fell in love.
When it came time for arranging, I tried, at the suggestion of my friend Ashlee, to group the photos in a somewhat chronological fashion: beginning with the maps of our hometowns, continuing with the photograph of Creighton, our Save-the-Dates, the silhouettes of Woods, a picture of our first apartment and so on.

I also added a mirror to that wall to reflect light and make the somewhat small bedroom seem more spacious. Woods, the vain cat that he is, likes to look at himself in this mirror quite a bit. I had originally intended the mirror to hang on the back of our closet door but after losing the screws, it spent several months propped up against my desk in the office. I was happy to repurpose it and finally give it a proper home.

Some of you may notice that the mirror was attached to the wall with Command hanging strips. While this may not be the classiest way to hang a mirror, it works great for renters like us! Some day we will be able to mount heavy things like mirrors directly onto the wall. Or better yet, DIY a large mirror like this one and lean it against the wall. Until then, our silver mirror mounted with Command strips works just fine!
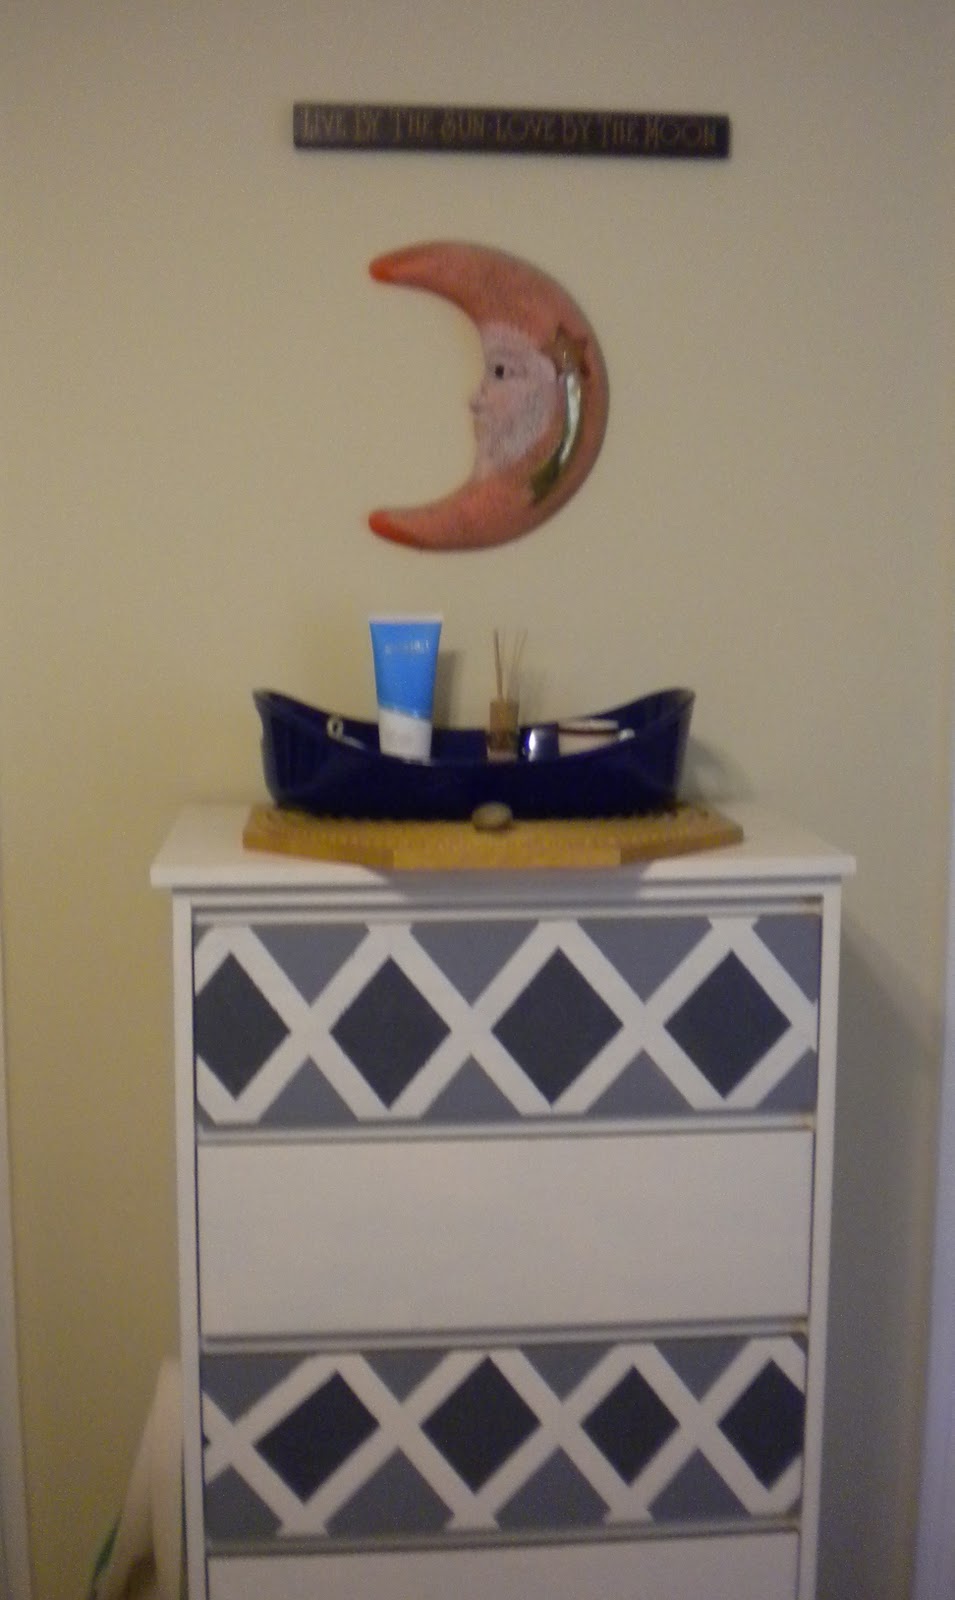
After rehanging some of our other decor items, like this crescent moon J bought me on Spring Break a few weeks after we started dating, I was finished. Our room looked much less bare and much more personal!
So there you have it, that's how, with a little inspiration and some creativity, I created meaningful and cheap art for our bedroom!
I love gallery walls and yours has definitely added a lot of personality and great memories to your bedroom. Great job!
ReplyDeleteHi there - I've just hopped over from Liz's blog, and I probably wouldn't have commented (even though your gallery wall IS lovely! I just rarely comment on blogs when I don't know the owner...anyway) But I'm sitting her with my 2.5 year old daughter and she saw your wedding photo and said "Look Momma! A PRINCESS! A REAL LIFE PRINCESS!"
ReplyDeleteI figure every woman wants to look like a princess on their wedding day, so I couldn't not share my daughter's observation. You were a beautiful bride! :)