Showing posts with label Bedroom makeover. Show all posts

Thursday, October 21, 2010

Bedroom Redesign Post #5: A Picture's Worth A Thousand Words

I apologize for the much used cliche, but it is especially fitting when you hear how I transformed the walls of our bedroom--on the cheap no less!

Before taking on this project, the walls of our bedroom were mostly bare and devoid of personality. We did not have any pictures of ourselves, Woods or our family and friends. For a room we spend a great deal of time in (it has the best TV in the house!), that needed to change, pronto. Here's how I did it.

I knew I wanted to incorporate a photo wall somewhere in the room, and with the air duct running through the wall above our bed, I settled on the only other available wall--thanks to the large window and closet doors that occupy the other two walls.

I also knew I wanted an asymmetrical frame design, similar to the one seen here.  I then decided on a frame color: black.  While we have quite a bit of white in the room with the telephone table, nightstand and tallboy dresser, much of our other furniture in the apartment, including bookcases, coffee table and entertainment center, are black.  Since we are renting, I wanted to use black frames in the event the frames ever have a different home--in say a living or dining room.


Armed with several coupons, I headed to Michael's and I bought ten frames in a variety of shapes and sizes, some with mats and others without.  I also included one shadow box to display some of our wedding mementos. While I was there, I picked up some scrapbook paper for a little art project to fill some of the frames in colors that complimented the bedding: orange, white and blue. 

Inspired by this blog post and armed with an exacto knife and images of Woods that I printed from the computer, I created two silhouettes of Woods and framed them.


Next, I spent some time scouring J's Vanity Fair and The New Yorker subscriptions for a magazine monogram like the one seen on YHL.  I finally found an article that started with the word R: a Vanity Fair article about Norman Rockwell.  Even better, the font for the R was a reddish hue, which matched the colors in the bedroom perfectly.  I cut out the section and went to my local Kinkos, where they helped me blow up the little piece of a magazine article to something that would fit in an 8" by 10" frame.


While reading up on an art related post on YHL which I cannot find for the life of me now, another reader posted a link with a unique idea for wall art: www.wordle.net  I decided to create a word cloud using the words from our wedding vows.  With a bit of tweaking, I was left with this:


I love that our names appear in the center of the cloud and are connected by the word join.  I often catch myself reading over the words and singling out different words of the vows each time I look at it. Sometimes it's love, sometimes it's life, sometimes it's sickness. Whatever my mood, whatever is going on, I can look at the vows and remember the promises we made to each other.

I also printed and framed this photo of us from our wedding.  It was taken during our first dance as husband and wife.  It is one of my favorite photos from that day because if you look closely, you can see my parents in the background watching us!


I added a few more photos, including maps of our respective home towns and a photo of Creighton University, where we met and fell in love. 

When it came time for arranging, I tried, at the suggestion of my friend Ashlee, to group the photos in a somewhat chronological fashion: beginning with the maps of our hometowns, continuing with the photograph of Creighton, our Save-the-Dates, the silhouettes of Woods, a picture of our first apartment and so on.


I also added a mirror to that wall to reflect light and make the somewhat small bedroom seem more spacious.  Woods, the vain cat that he is, likes to look at himself in this mirror quite a bit.  I had originally intended the mirror to hang on the back of our closet door but after losing the screws, it spent several months propped up against my desk in the office.  I was happy to repurpose it and finally give it a proper home.


Some of you may notice that the mirror was attached to the wall with Command hanging strips.  While this may not be the classiest way to hang a mirror, it works great for renters like us!  Some day we will be able to mount heavy things like mirrors directly onto the wall.  Or better yet, DIY a large mirror like this one and lean it against the wall.  Until then, our silver mirror mounted with Command strips works just fine!

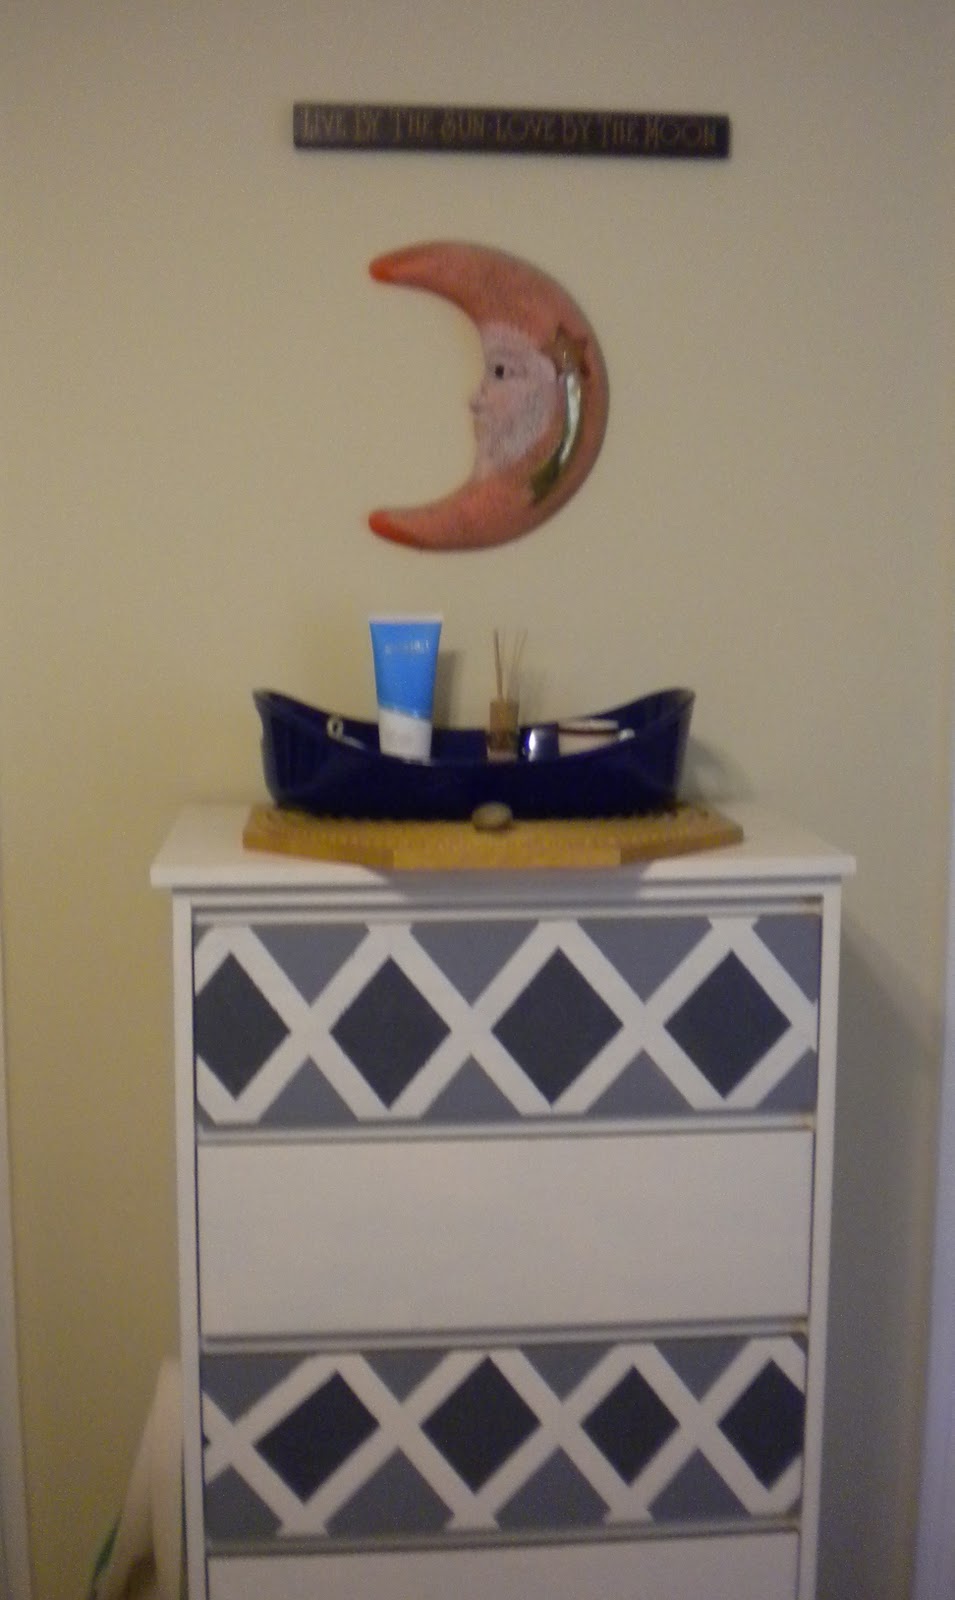
After rehanging some of our other decor items, like this crescent moon J bought me on Spring Break a few weeks after we started dating, I was finished. Our room looked much less bare and much more personal!

So there you have it, that's how, with a little inspiration and some creativity, I created meaningful and cheap art for our bedroom!

Friday, October 15, 2010

I've Been Featured!

Beth and Nick of Sawdust and Embryos have been kind enough to feature my dresser makeover on their blog today.  It is such an honor as I truly love their blog and enjoy following their life in Iowa.  Being married to a Midwestern boy and having lived in Nebraska for 4 1/2 years, I feel right at home when I read their blog.  Their amazing creativity and the honesty with which they approach their blog doesn't hurt either!


So head on over and check it out!  Thanks again Beth and Nick for featuring my little project!


Also, a special welcome to any guests from Sawdust and Embryos who are visiting for the first time!  Welcome to my humble blog.  Feel free to look around and I hope to see you back here soon!

Wednesday, September 29, 2010

Bedroom Redesign Post #4: Picassa Mi Casa


Forgive the bad pun, but I am back after a brief hiatus (not from blogging, just from posts of the bedroom redesign) to reveal how we repainted several pieces of furniture to better compliment the bedding and bedside table already in the room.

As many of you know, I decided to makeover our bedroom as a surprise for J when he returned from Omaha this summer after being away for 8 weeks. I've already mentioned that I scored this beauty of a dresser for twenty-five dollars at one of my favorite thrift store haunts, Value Village.

And you've most likely seen spoilers of the finished product here, here and here to name a few. Well, here she is in all of her glory!

&


Here's how I did it. J and I are fortunate to have an unfinished basement (and neighbors willing to put up with my many projects) to use for painting, which definitely came in handy since the humid weather in St. Louis in July is less than ideal for painting. I removed and spray painted the handles yellow, to add a little punch to the drawers. Next, I painted the drawers a slightly darker color in semi-gloss paint. I painted the base of the dresser a complimentary color in a satin finish, to add even more contrast between the two.

After letting it dry for several days, I (with Ashlee's help!) moved the piece back into the bedroom. As Woods has taken to laying out on the dresser, I picked up two place mats to protect the top of it from rambunctious kitties. It has also served as a new game for Woods--run at top speed into the room, leap onto the dresser and watch the mats fly!

Because we have little closet space, I knew I needed to incorporate our other dresser into the new room as well. With some leftover white paint from our telephone table, and the other two colors from the new dresser, Ashlee and I taped off a fun graphic pattern and got to painting. We were really pleased with the end result:

We weren't finished though. We also painted our other nightstand to match, again with a bright graphic pattern.


And that's how, after several marathon painting sessions, we were finally put down the paint brush! We were very happy with the end results. What do you think, friends? Have you taken on any new painting projects? Do you have any tips for anyone else wanting to paint furniture?

P.S. Want to read about the bedroom makeover from the beginning? Here are parts one, two and three. Next up, I share why J and I were chopping and cooking for 3+ hours!

Thursday, August 26, 2010

Bedroom Redesign Post #3: Sheets of Egyptian Cotton


Anyone remember the cheesy song from this movie with Brittany Murphy some years ago?

Well, we did not purchase Egyptian cotton sheets for our newly designed bedroom, but we did get a significant upgrade in terms of comfort and style than our previous arrangement.

Starting out, I knew that I wanted four things: one, a duvet cover to slip over our current comforter until we are able to buy a real down comforter. There are a few at Macy's and IKEA I have been coveting for the last several months. Alas, our wedding gift cards can only go so far and they went mainly to our new cookware, stand mixer, and a new set of knives--pretty good loot, but plans for a down comforter have been put on the back burner. Since we have a perfectly good comforter (and no second bed to put the soon-to-be discarded one), I decided a duvet cover was the best bet.

My second requirement was that it somehow tied together our pale yellow walls (we rent so no painting allowed) and the newly painted dresser, which was a steel blue color (more about the dresser in a future post!). Looking back, I would probably try to find fabric first then paint, but it all worked out in the end, as you will see. It just took more driving around and more sleuthing than if I would have just waited to paint :)

My third requirement was that the design not be too masculine or feminine. The comforter we had at the time was from before J and I lived together and was definitely more masculine than I preferred. At the same time, I did not want to settle for something that screamed feminine. Our bedroom is a shared space and I wanted the fabric choices to reflect that.


My final requirement was that it hide cat hair better than our previous comforter. While one side had solid stripes (as you can see from the picture) the other side was a dark brown. Not a great color for orange cats, especially ones that like to crawl under the covers at night and leave their hair everywhere. While we found a pretty inexpensive solution to the hair, I wanted something that would hide it better between treatments.

With these criteria in mind, I headed to a few stores to find the perfect comforter for our redesigned bedroom. We had originally wanted this duvet cover from Macy's, but since this duvet will only last us a few years (we hope to eventually get a bed bigger than the full we have now), I didn't want to necessarily spend that much money on something that will eventually end up on our guest bed (when we have one)!

The first stop was Target, which had some great options online, including this beautiful grey and yellow duvet. Unfortunately, they did not have any DwellStudio duvets at the Target we frequent and I didn't quite feel comfortable buying a duvet cover sight unseen. Most of the other wares at the store were all comforters. Strike Target.

The next stop was Bed, Bath and Beyond. We found two reasonably good options there: this citron and grey duvet and this amber and grey option, both of which would have been great if I hadn't already painted the dresser steel blue. Strike Bed, Bath and Beyond.

Our next stop was Urban Outfitters. My friend Ashlee had recently gotten a duvet cover there, so I thought I'd try my luck there as well. Online I had seen this beauty but after we called the local Urban Outfitters, we learned they did not have that one in stores. Because of my aversion to buying duvets online without seeing them first in stores, I about gave up hope. Ashlee then had the idea to go to the local Urban to see what else they might have that could work. That's when we struck gold. With this sweet little number. It had the exact blues that were in my dresser, yellows, and was bright and cheery without screaming feminine or masculine from the top of its lungs. It was (and is) perfect! Even better, it complimented our existing sheet set enough that I didn't need to buy new sheets! Success!!

I opted to just buy the duvet cover and not the shams that go with it. Because the pattern is bright, I decided to bring in solid colored pillows and bedskirt in coordinating colors from the pattern. I bought both of these at Walmart, which has a fairly decent selection of colors, I might add.
One great bonus of the Urban Outfitters' duvet covers is that they come in these handy little bags, which was great to tuck into my purse when I went shopping for pillows and a bedskirt. No guessing on the right colors only to bring them home to find out they are slightly off.
As far as pillows, I had two dark brown pillows from the living room that I moved to the bedroom, and I slipcovered a third one in a gold color. None of these colors were in the pattern, but they compliment it well, so it didn't matter.
Woods likes the new duvet cover a lot, especially when it hides some of the many hairs he leaves for us as presents. He is not so thrilled that I took this picture of him however. You would think with all the photos I take of him, he would be used to it by now! If you look close, you get a sneak peak of the dresser, my next redesign post!
So there you go, a somewhat long post on how, with a little leg work, we found the perfect duvet cover to compliment our newly designed room! Next up, how I repainted a dresser (sneak peak above) and our existing furniture to match! Stay tuned!

Monday, August 16, 2010

Bedroom Redesign Post #2: You're Not Gonna Reach My Telephone


Source


Stop callin', stop callin' I don't wanna think anymore
I left my head and my heart on the dance floor. ~ Lady G


This second segment of my bedroom redesign is all about telephone tables. Ever since I saw this post on Design*Sponge, I have been on lookout for a telephone table that I could redo myself. I love telephone tables and the history behind them. They go back to a time when all phones had cords and most homes were lucky if they had one phone for the whole household! After much searching, I finally found one at Goodwill and better yet, it was half off! I only spent $12 on the table.


It's hard to tell from the photo, but the print on the seat is a really awesome African safari theme!


Full disclosure: I bought and painted this table back in November 2009. I haven't blogged about it before now.


After a fresh coat of paint and a new cushion (for information on how to reupholster a seat cushion, click here), my telephone table went from looking sad and dated to fresh and inviting!


This telephone table has had a few "homes" in the last few months, including a mini mudroom of sorts in our living room, a side table for our couch, and a decorative piece in our dining room.


When I began redesigning and repainting furniture in our bedroom (more on this topic to come, so stay tuned!), the color scheme of the table suddenly matched that of the bedroom where it never had before. A light bulb suddenly went off--bring the telephone table into the bedroom for an instant night stand!


I love this piece because it simultaneously gives me a place to put my purse every day that is off of the floor and gives me a place to stash my book, glass of water and other items. It also has a lower shelf which is a great place for me to put my laptop and journal.

Don't mind the squirt bottle: Woods can be a naughty kitty and has been known to bite us (love bites I swear!) and the squirt bottle is to get him to stop :) I am told he will grow out of this eventually!


I had picked up this little blue tea light lantern for 2.00 a while back at Old Time Pottery. At the time I didn't have a specific use in mind for it, but I couldn't pass up the price. So, after spending a month or so in the closet, I was able to give it a second home in our room! I now use it on my night stand/telephone table to wrangle my hair ties, which previously ended up under our couch because Woods thinks they are toys!


Notice the abundance of pens, hair ties and milk rings in his collection. Two of those items (pens and hair ties are toys he commandeers on his own). The third, milk rings, are toys we give him regularly! I love that our cat likes free toys that are byproducts of things we use and buy on a weekly basis.


So to recap: I love me some Gaga, telephone tables are awesome and can serve multiple functions, Woods likes hair ties and milk rings, and I now have a very functional and beautiful side telephone table.

Next up: a recap of my hunt for fun and fresh new bedding!

Thursday, August 12, 2010

Bedroom Redesign Post #1: Moving a Bathroom

The topic of this blog post is not very glamorous but it is a fact of life in our house, and any house with a furry family member that looks something like this:

A litter box.

Yep, that's our boy, Woods, and he, like most cats who aren't toilet trained, uses a litter box.

The first step I took in redesigning our bedroom was to brainstorm ideas of where to relocate his restroom. Its first home was the bedroom against the east wall by J's side of the bed. However, this location was less than ideal as Woods is a loud (and sometimes smelly, let's be real here) user of said box. It also meant he got pieces of litter (Woods is a master of flinging litter) on our carpets, which was a pain to clean. So the bedroom was out as a location for his bathroom. In our small apartment, that didn't leave many options. We could put it in the office, but we sometimes close that room off from the rest of the house in really warm weather (one less room to keep cool) and J spends a good deal of time studying in there. The kitchen, dining room and living room were out for obvious reasons. This left one room: our bathroom.

The next question became how to conceal his litter box so that when we (and our guests) visited the restroom, it did not scream litter box. I did some research online and found some cool options for this sort of problem, like this and this. Ultimately, these options, while stylish, did not work great for us because our bathroom is rather small and would not accommodate such big pieces.

My solution was to use our linen closet. The closet itself is fairly spacious and has several wooden shelves that can be easily removed. As such, I removed the bottom shelf, which allowed me to fit not one, but two litter boxes in there (even though Woods is an only kitty, we like to keep two litter boxes out at all times). Success!

Next, I removed the wooden door to our linen closet in the bathroom and grabbed a pressure rod to hang a sheer curtain that would somewhat conceal the contents of the closet but allow Woods to help himself to his thrones. Note that I may have used something other than a pressure rod if we weren't renting and didn't have plaster walls. You will notice from the picture above that the sheer does not cover the whole length of the linen closet, which is desirable because our cat is lazy and would probably not enjoy moving the sheer with his nose each time he went in there!


Finally, I grabbed some pretty boxes to collect and and display our towels, lotions, shampoo, conditioner, etc. in an appealing way since the sheers leave less to the imagination than a wooden door. I also slipped some pretty monogram pins I had used at our wedding (to keep the various bouquets straight!) on the baskets to personalize them a bit! More about how I wrangled this messy closet (and others) to come in a future post!


Once I had it all set up the way I wanted, I slowly began moving Woods' boxes towards the bathroom. I had heard that if you move them to a new location quickly, cats can start to use other things as their bathroom, like door frames or laundry baskets. Since Woods has never had an accident, I wanted to be sure that this didn't start a bad habit! This is when having 2 boxes helps because I could put one in its new location right away and slowly move the other towards it. After a few days, he was quite content to use the bathroom to do his business! Also, I must say that it is way easier to sweep and Swiffer our bathroom floor a few times a week to clean up after Woods than before when he would embed his litter in our carpet!

So there you have it, a rather long post about how we tided up the bedroom by moving Woods' "bathroom" to the bathroom! Next up, how I repainted and re-purposed a telephone bench to suit our bedroom needs!